Call buttons user manual
How it works
Start a call
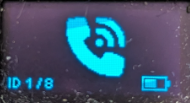
Short press the physical button to launch a call.
The display will show a phone.
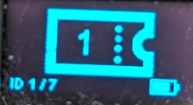
Once the call has been received by the manager, the screen will display a ticket with the position number in the queue.
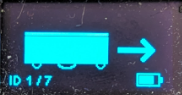
As soon as a robot is assigned to the mission, the screen displays the robot icon with an arrow.

Once the robot has arrived, the screen will display the robot icon with a tick, then switch off.
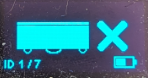
If the robot fails to come to the requested position, the screen will display the robot icon with a cross. This display will remain active until another robot is assigned to the mission.
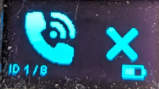
If no equipment answers the call after 10 seconds (SP configuration problem or no manager on), the display will show a phone with a cross and then switch off.
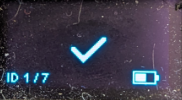
If the manager is in the process of being configured, the display will show a tick and then switch off.
Cancel a call

During a call, press and hold to cancel the call.
The display will show a phone with a cross.
Configuration
Press and hold the button for 3 seconds to access the menu.
Menu
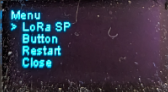
Quickly press the physical button to change menu, long press to enter menu.
LoRa SPButtonRestart: restart the controller, to be done after a modification.Close: close the menu.
LoRa SP
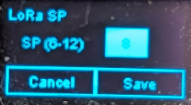
This page is used to configure the controller's SP.
The SP must be set to the same SP as the manager and robots.
Quickly press the physical button to change a value or validate a button, long press to change fields or buttons.
Button
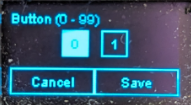
Unique button identifier from 1 to 99.
It must be unique and will be configured on the manager and robots.
Quickly press the physical button to change a value or validate a button, long press to change fields or buttons.