Site and map management
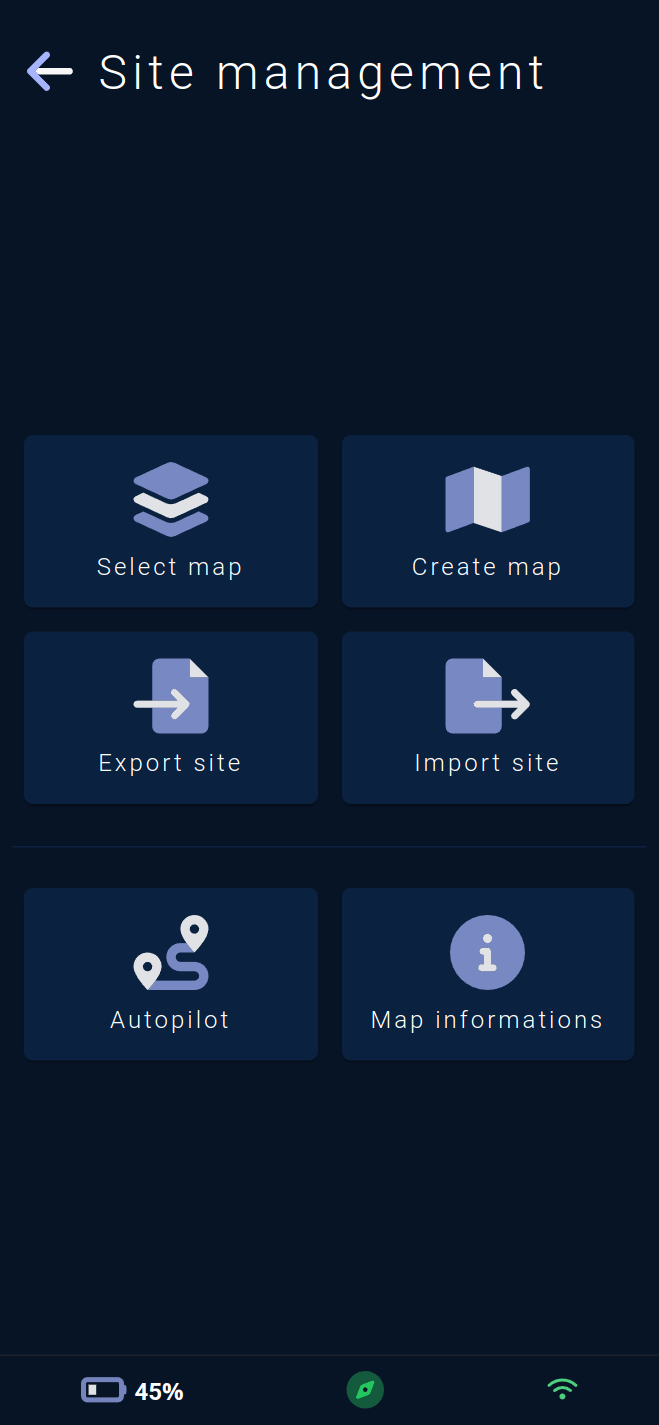
The Site management menu allows access to various configuration pages for the site and map :
Selection of the active map 🗺️.
Creation of a new map ➕.
Export of sites 🗃️.
Import of sites 📂.
Configuration of the
autopilot, a sequence of automatic movements on elements of the active map.Map informations 🪪.
Note : Autopilot settings and map informations only apply to the active map.
Select active map

This page allows you to change the vehicle's active map 🗺️ among the maps created or imported on the vehicle.
It also allows renaming and deleting sites, as well as deleting maps.
In this "tree" view, the sites (containing the maps) are visible on the left side of the tree, and the maps, their names, and their previews are located under the parent site.
The current site will be open, and the active map will be selected by default. The map change button will remain grayed out until another map is selected.
The pencil button ✏️ allows you to modify the name and description of a site. The trash button 🗑️ allows you to delete, with confirmation required.
It is not possible to delete the active site or the active map.
Once the selection is complete, the button at the bottom of the page allows you to initiate the map change.
The vehicle will start by replacing its active map, then it will perform a relocation to start autonomous navigation on its new map.
Note : Changing the active map requires maintenance mode to be activated. If it is not, a pop-up will appear to activate it.
Creating a New Map
⚠️ Warning, mapping is a critical operation for the vehicle ⚠️
The operator 👷🏽♂️ performing it must be trained by the Rob'Occ team or equivalent to perform mapping.
Site Selection
This page allows you to start a new mapping. The vehicle automatically creates its map by moving around its new environment and detecting walls 🧱 and navigable spaces using its LiDAR sensor 🚨.
Mapping is a necessary step when deploying on a new site or when adding a map to a site, such as a new floor.
Once mapping is complete, the vehicle will be able to locate itself on its map and move freely in an autonomous manner ✔.
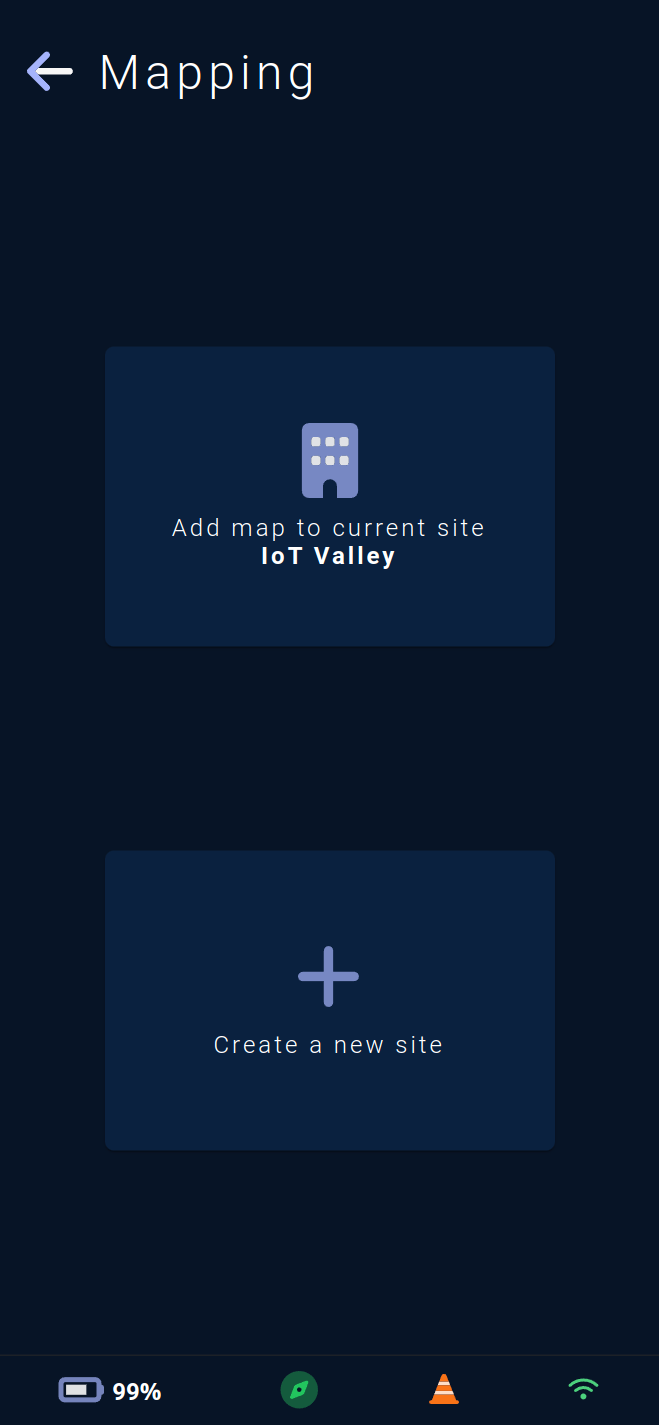
The first step in mapping is to select the site where the new map will be added. By default, the vehicle's current site is proposed via the top button, but if the mapping is for another site, the creation of a new site ➕ is available via the bottom button.
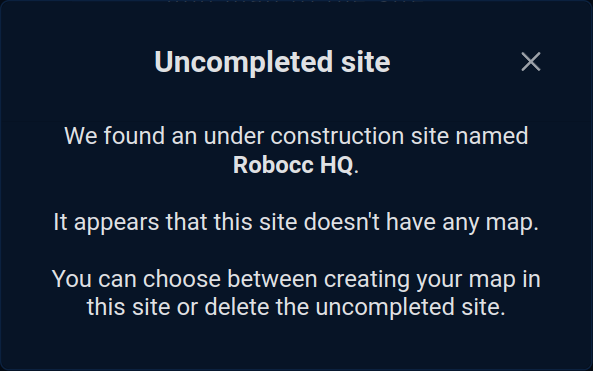
Note : If the vehicle has a site without a map (due to an error during a previous mapping or a map deletion), you must choose to either use it or delete it to avoid keeping unnecessary sites.
Map name
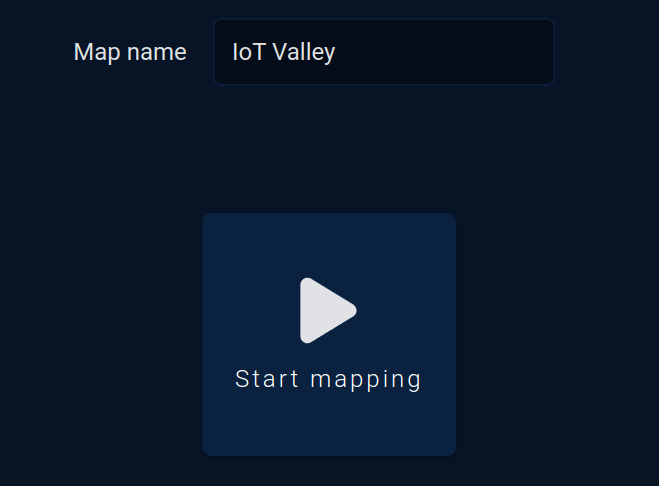
Once the site is selected, you need to choose the name of the map. By default, it will be pre-filled with the name of the previously selected site.
If the site already has one or more maps, it is better to rename the new map to differentiate it from the others already recorded on this site.
A joystick (cf. #Move) is also available to drive the vehicle to its starting point.
Once everything is prepared, the Start mapping ▶️ button will launch the mapping process.
Mapping
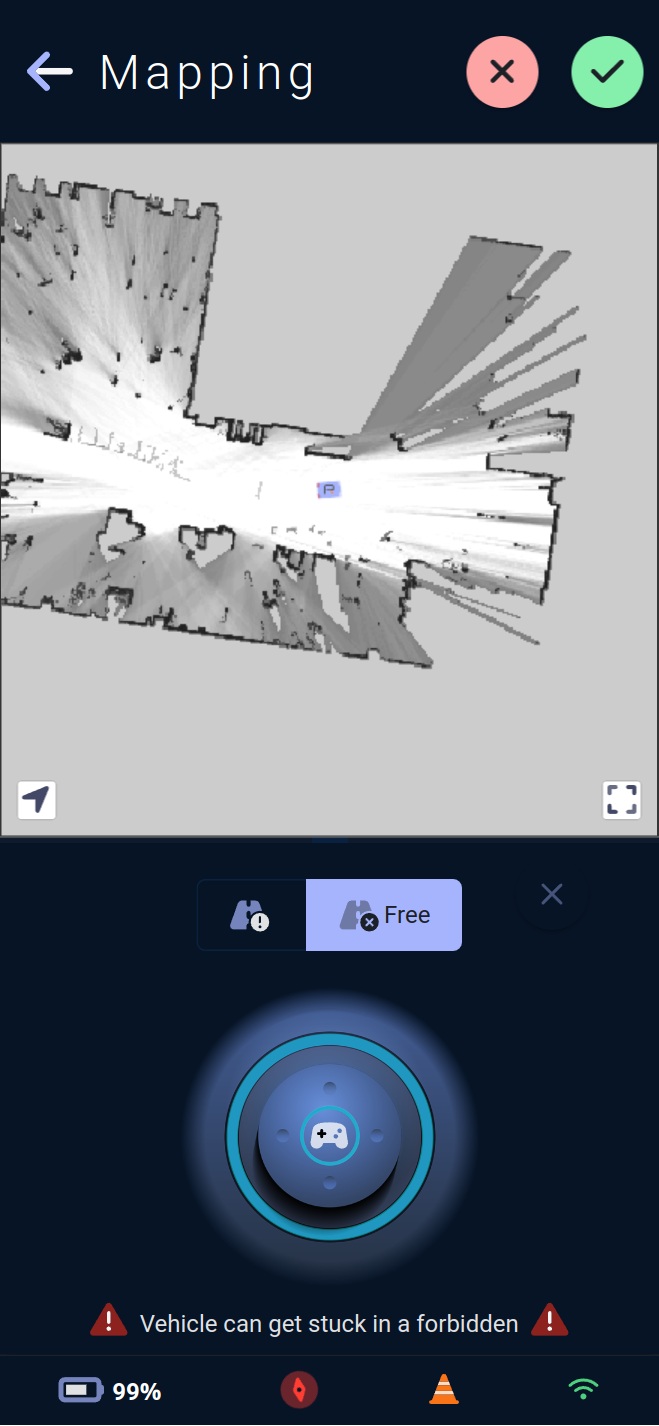
Once mapping has started, the map under construction will be visible on the page and regularly updated. Detected walls will be shown in black ⬛ , and open spaces in white ⬜ .
The vehicle's icon indicates its position within the map under construction, and the corner buttons allow you to adjust the view.
For successful mapping, all physical walls 🧱 should be correctly displayed in black on the map, and all navigable spaces should be in white. The vehicle must navigate around poles and other obstacles to "see" behind all obstacles in its 360° field of view.
The operator 👷🏽♂️ must follow the best mapping practices taught during training to avoid any issues or incidents ⚠️.
Once mapping is complete, you can cancel it via the red cross button ❌ or save the map via the green check button ✅. Saving or canceling can take some time on the vehicle.
If the process was canceled, return to the Site Selection step (see above) to restart mapping. If it was completed and saved, proceed to the map editing page to add saved pose, custom areas, charging stations, etc., necessary for the vehicle's mission.
Note : Starting a mapping requires maintenance mode to be activated. If it is not, a pop-up will appear to activate it.
Export Sites
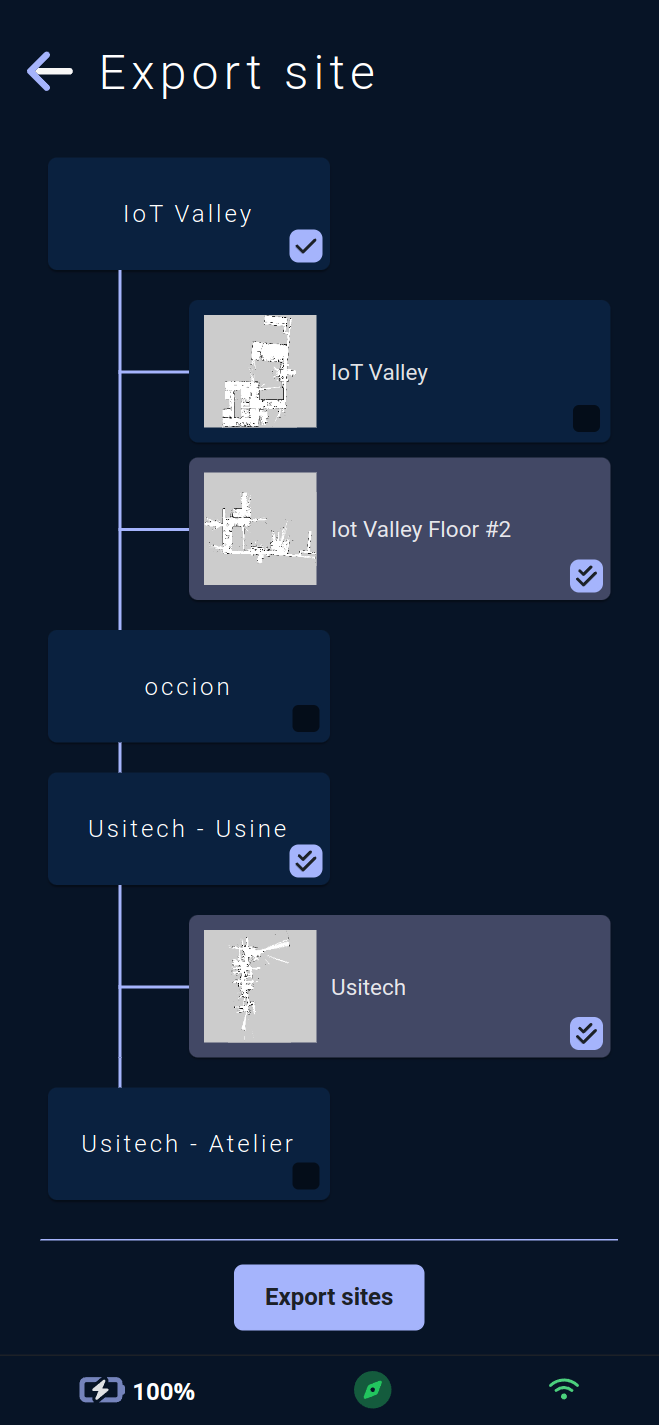
This page allows you to export 🗃️ the vehicle's sites.
In this "tree" view, the sites (containing the maps) are visible on the left side of the tree, and the maps, their names, and their previews are located under the parent site.
The current site with all its maps will be pre-selected.
You can choose to export only certain maps from a site; in this case, the site will be marked with a single checkmark ☑️.
A site marked with a double checkmark will be exported with all its maps.
Once the selection is complete, the button at the bottom of the page allows you to start the export. If only one site is selected, a single .robocc file 🗒️ will be created. If multiple sites are selected, a .zip archive 🗃️ containing the .robocc files of each site will be created.
Import Sites
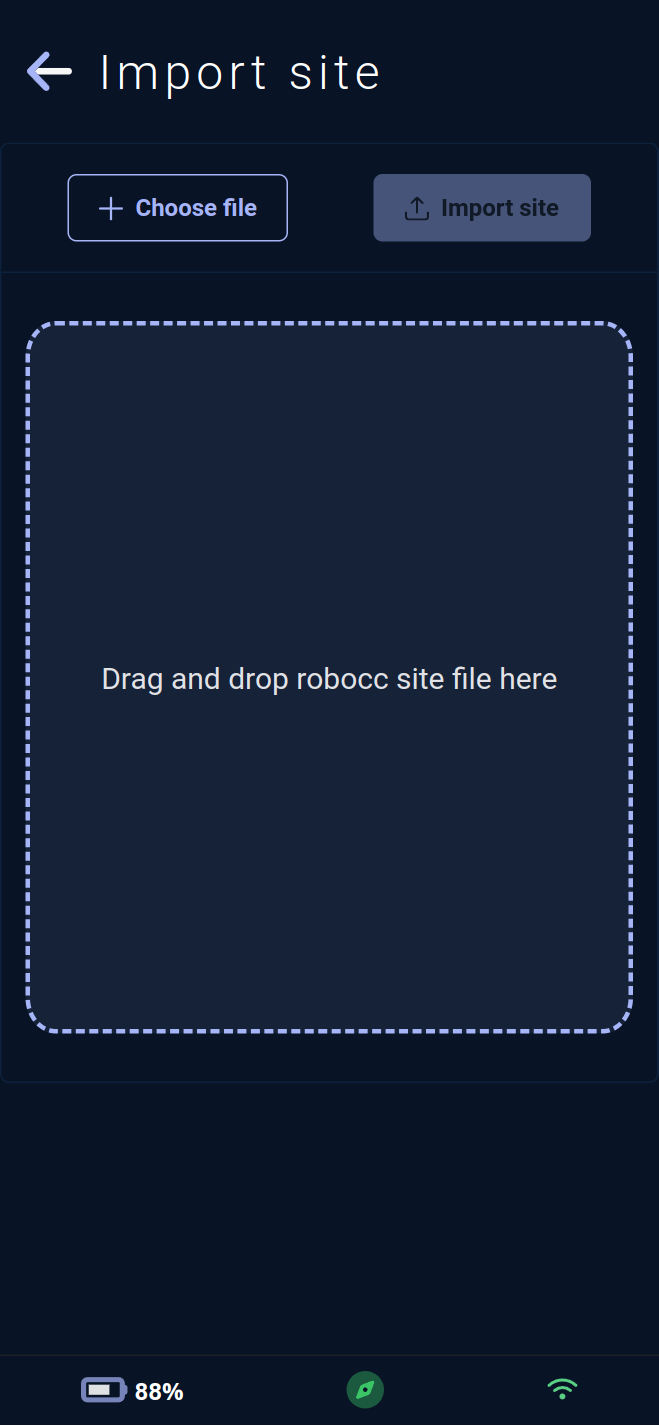
This page allows you to import 📂 the vehicle's sites.
.robocc site files can be uploaded using the ➕ button or by dragging and dropping them into the designated area.
It is possible to upload a .zip archive containing multiple site files or upload multiple files to import them in sequence.
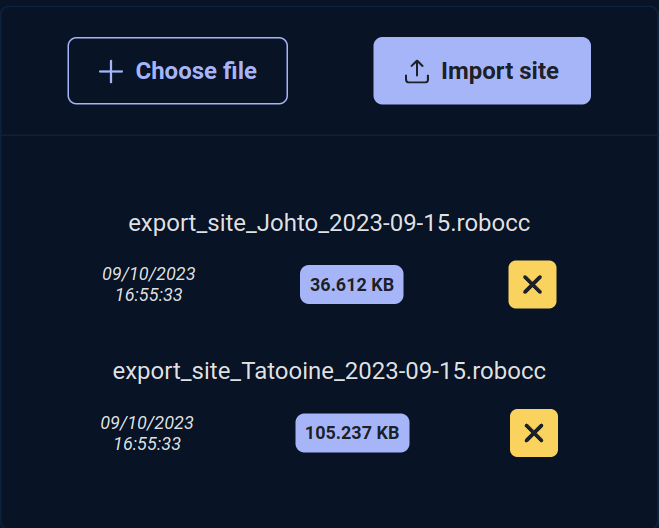
Once the files are correctly uploaded, their list is visible, and a button allows you to remove them before importing.
After starting the import via the ⬆ button, the vehicle will begin the sequential import of the selected sites.
With each successful site import, the vehicle will ask if the active map should be changed.
If the imported site includes multiple maps, a new pop-up for map selection from this site will appear. Once the map is selected, or if the imported site includes only one map, the vehicle will change its active map and start a relocation to begin autonomous navigation on its new map.
Note : Importing a site requires maintenance mode to be activated. If it is not, a pop-up will appear to activate it.
Autopilot
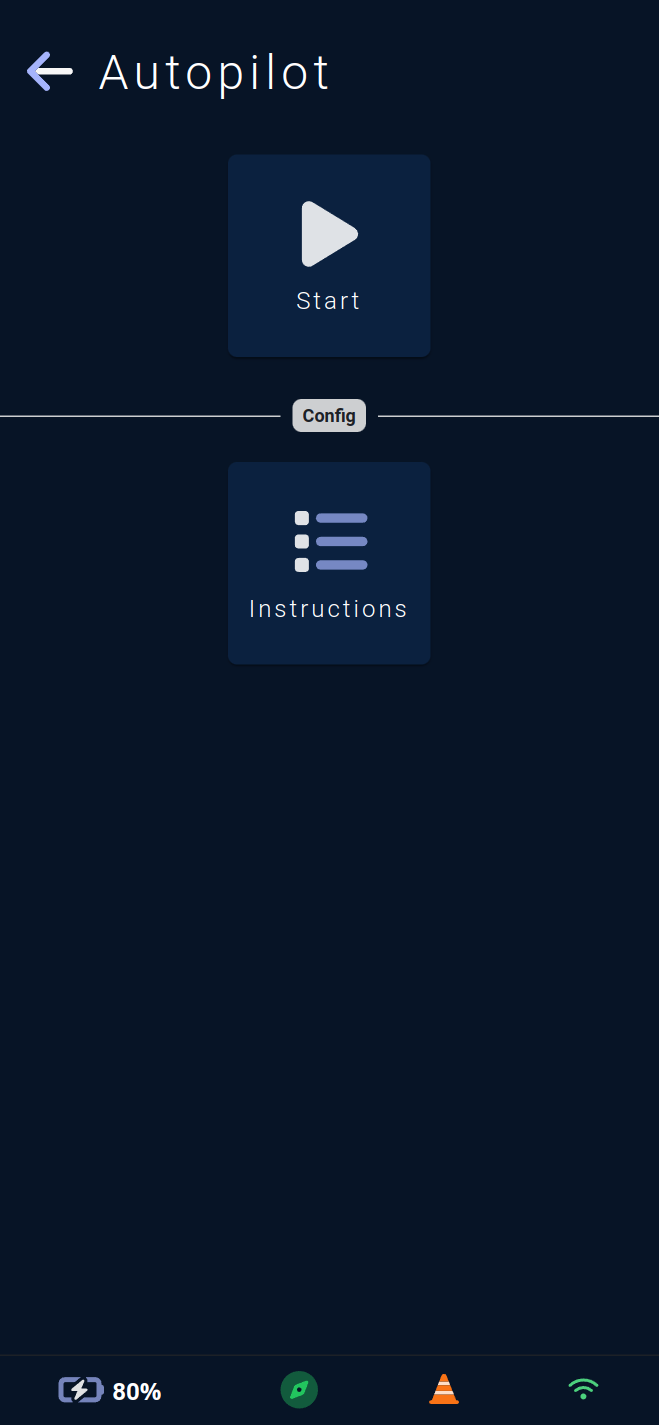
This page allows you to configure and start or stop the autopilot sequence 🔁 of the active map.
The Instructions button allows you to enter the sequence configuration.
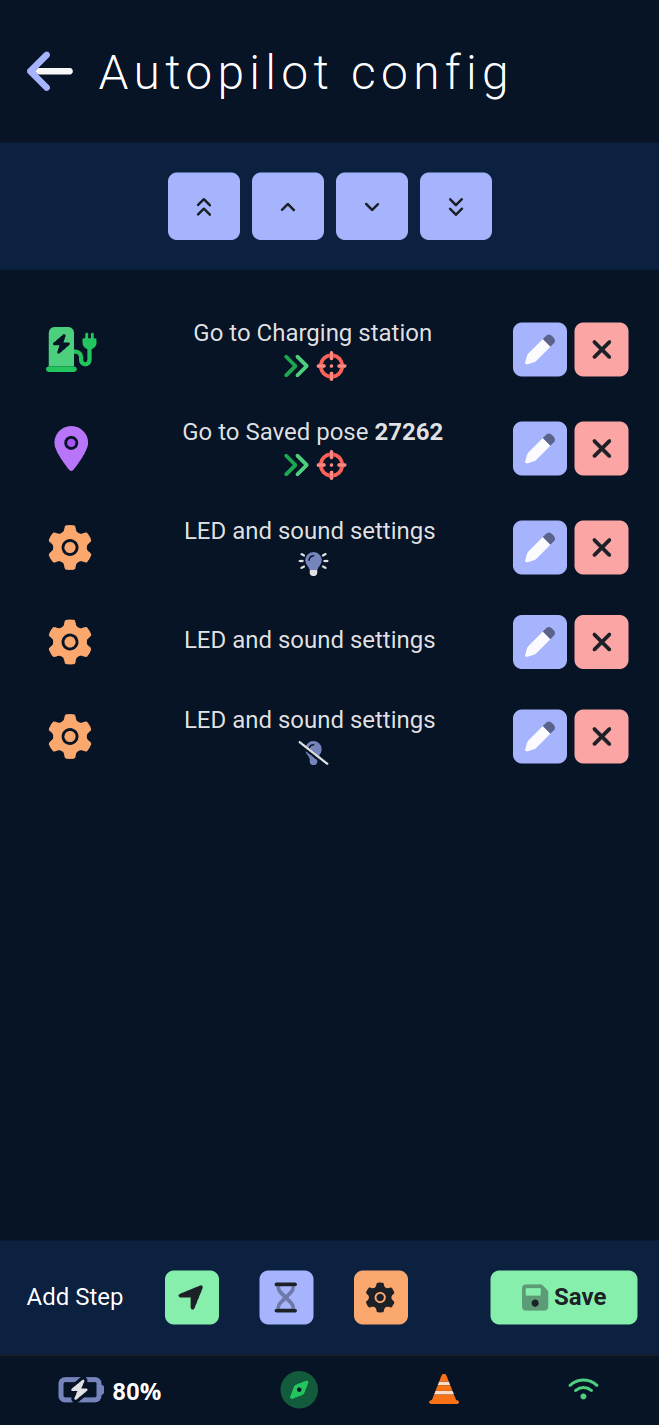
Autopilot sequence steps are divided into 3 types:
Vehicle movement steps.
Behavior steps ⚙️ that affect the LEDs and sounds played by the vehicle. These steps are executed instantly by the vehicle.
Waiting steps ⏳ that will require the vehicle to stop for the specified number of seconds.
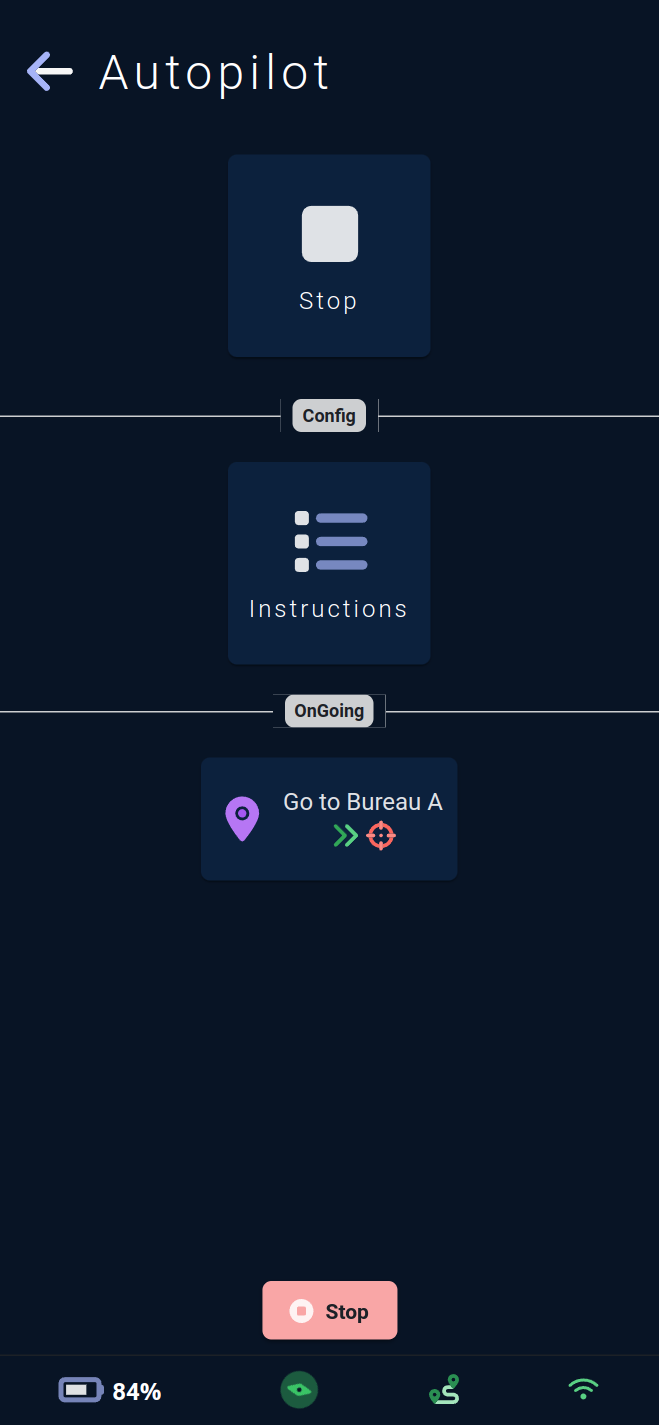
If the autopilot is active on the vehicle, the ongoing action is visible in the OnGoing section.
During a waiting action, an hourglass icon ⏳ and the waiting time in seconds will be visible.
During a movement action, an icon and text indicate the movement target.
Additional information is available via the small icons under the text.
The first icon indicates the behavior of the step if a movement error occurs. A double arrow icon ⏩ indicates that in case of an error, the vehicle will proceed to the next step. A repeat icon 🔁 indicates that the vehicle will retry the erroneous step.
Note : the vehicle will pause for the number of seconds specified in the error timeout before performing the next action, whatever it may be.
The second icon provides information about the accuracy to the target. A crosshair icon indicates that no tolerance has been set for this movement step, and the vehicle will make a precise movement to the requested point. A target icon indicates that a distance tolerance has been set, and the vehicle may stop before reaching its precise target.
Map information
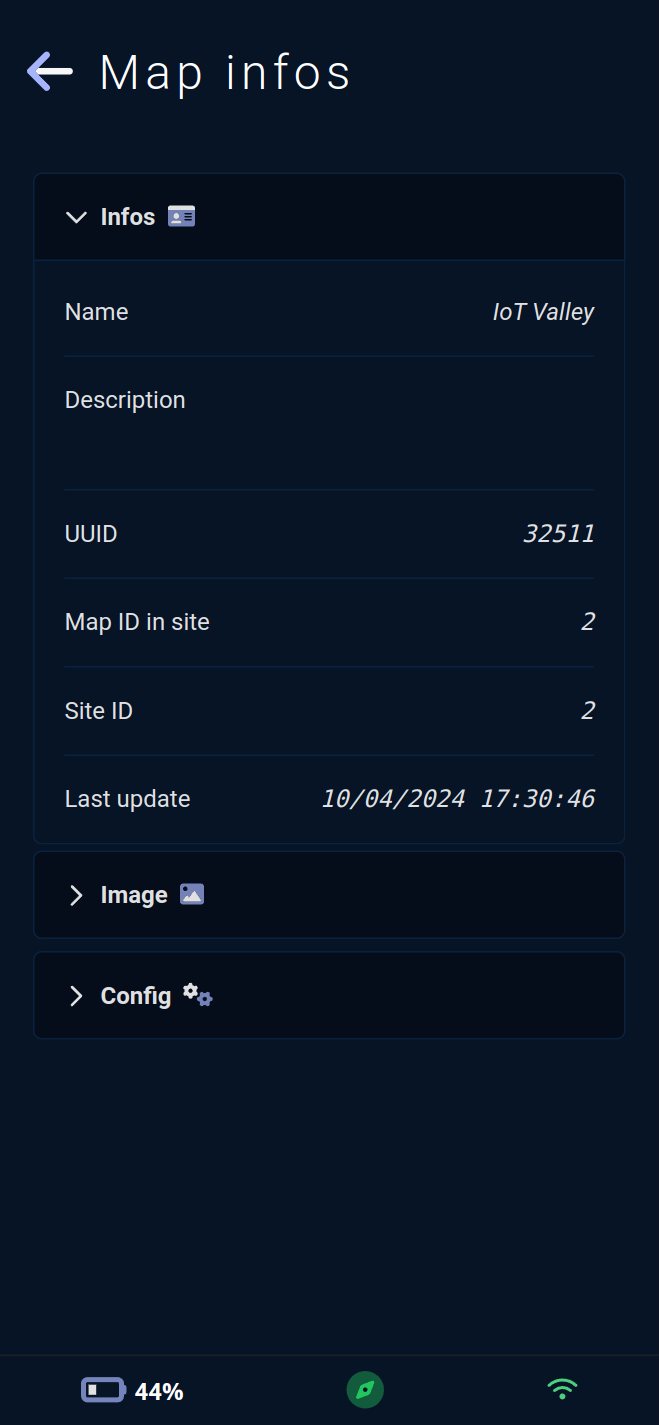
This page summarizes the information of the active map 🗺️.
It is divided into three sections:
InfosSection 🪪 : A summary of the map's general information, including its name, various IDs, and the date of its last modification.ImageSection 🗾 : A summary of the map image, a preview of it, its size in pixels and meters, as well as the navigable area for the vehicle.ConfigSection ⚙️ : A summary of the map configuration, including the number of points of interest, the general behavior of the vehicle on this map, and the number of configured routes.